Tuesday, May 21, 2013

Pound Cake French Toast

While making my rounds at Dollar Tree for my Mother's Day craft finds, I came across boxed pound cake.  Now I am typically skeptical of food purchases from a dollar store, but it was the same pound cake I had seen at Stop Shop earlier that day.  A quick expiration date check and we were good to go!

At that point I had no idea what I was going to make with it, but since I was in charge of breakfast for my mom and dessert for my mother-in-law, I grabbed four boxes!

Recently I have been on a french toast kick!  Those french toast rollups last month were super easy and to die for.  So I figured why not try pound cake french toast.


After slicing the pound cake, I whisked up a bath of egg, heavy cream, and vanilla.   A quick dip for the pound cake and some time in a pan with heated butter.  When cooked, another dip in a cinnamon and sugar mixture.


I then quickly heated some raspberries and sugar in a small saucepan for an instant sweet sauce.


Another delicious french toast treat!


Sunday, May 12, 2013

Silhouette Plates

So during my Mother's Day pedicure today, I realized I needed something crafty for my mom to open from her granddaughters this Mother's Day. And yes, of course, Mother's Day would be tomorrow. Luckily, and conveniently, my nail place is just a few doors down from one of my FAVORITE places... Dollar Tree!

Flower pots... vases... picture frames... all of your crafting staples crossed my mind. But one of the best things about Dollar Tree is that you never know what crafting wonders you are going to find. So for  today, it was the glasses and plates aisle that sparked the idea for a pair of silhouette plates.

I must say, that this was one of the fastest DIY projects ever and they really are super cute. It also was one of the cheapest... two salad plates ($2 plus tax... score!) and a Sharpie (who doesn't have one lying around).


Step 1: To create the silhouettes for the plates, start with a profile picture of your subject.  It probably took longer to get Julia to pose then it did to make the entire project.

Step 2: Scale the photo to the perfect size directly on your computer screen. Use your screen as a light box and trace the image onto paper.


Step 3: Cut the silhouette out.


Step 4: Center stencil on a pre-washed plate. Trace your silhouette stencil. I used an ultra fine point Sharpie for this part.

Step 5: Color in your outline with a fine point Sharpie.


Step 6: Bake in a 300 degree oven for 30 minutes.


That simple! And super cute!


Monday, April 29, 2013

French Toast Fun

I recently HAD to try this recipe for french toast roll-ups from pincookie.com... and let me tell you they were simple  and delish!

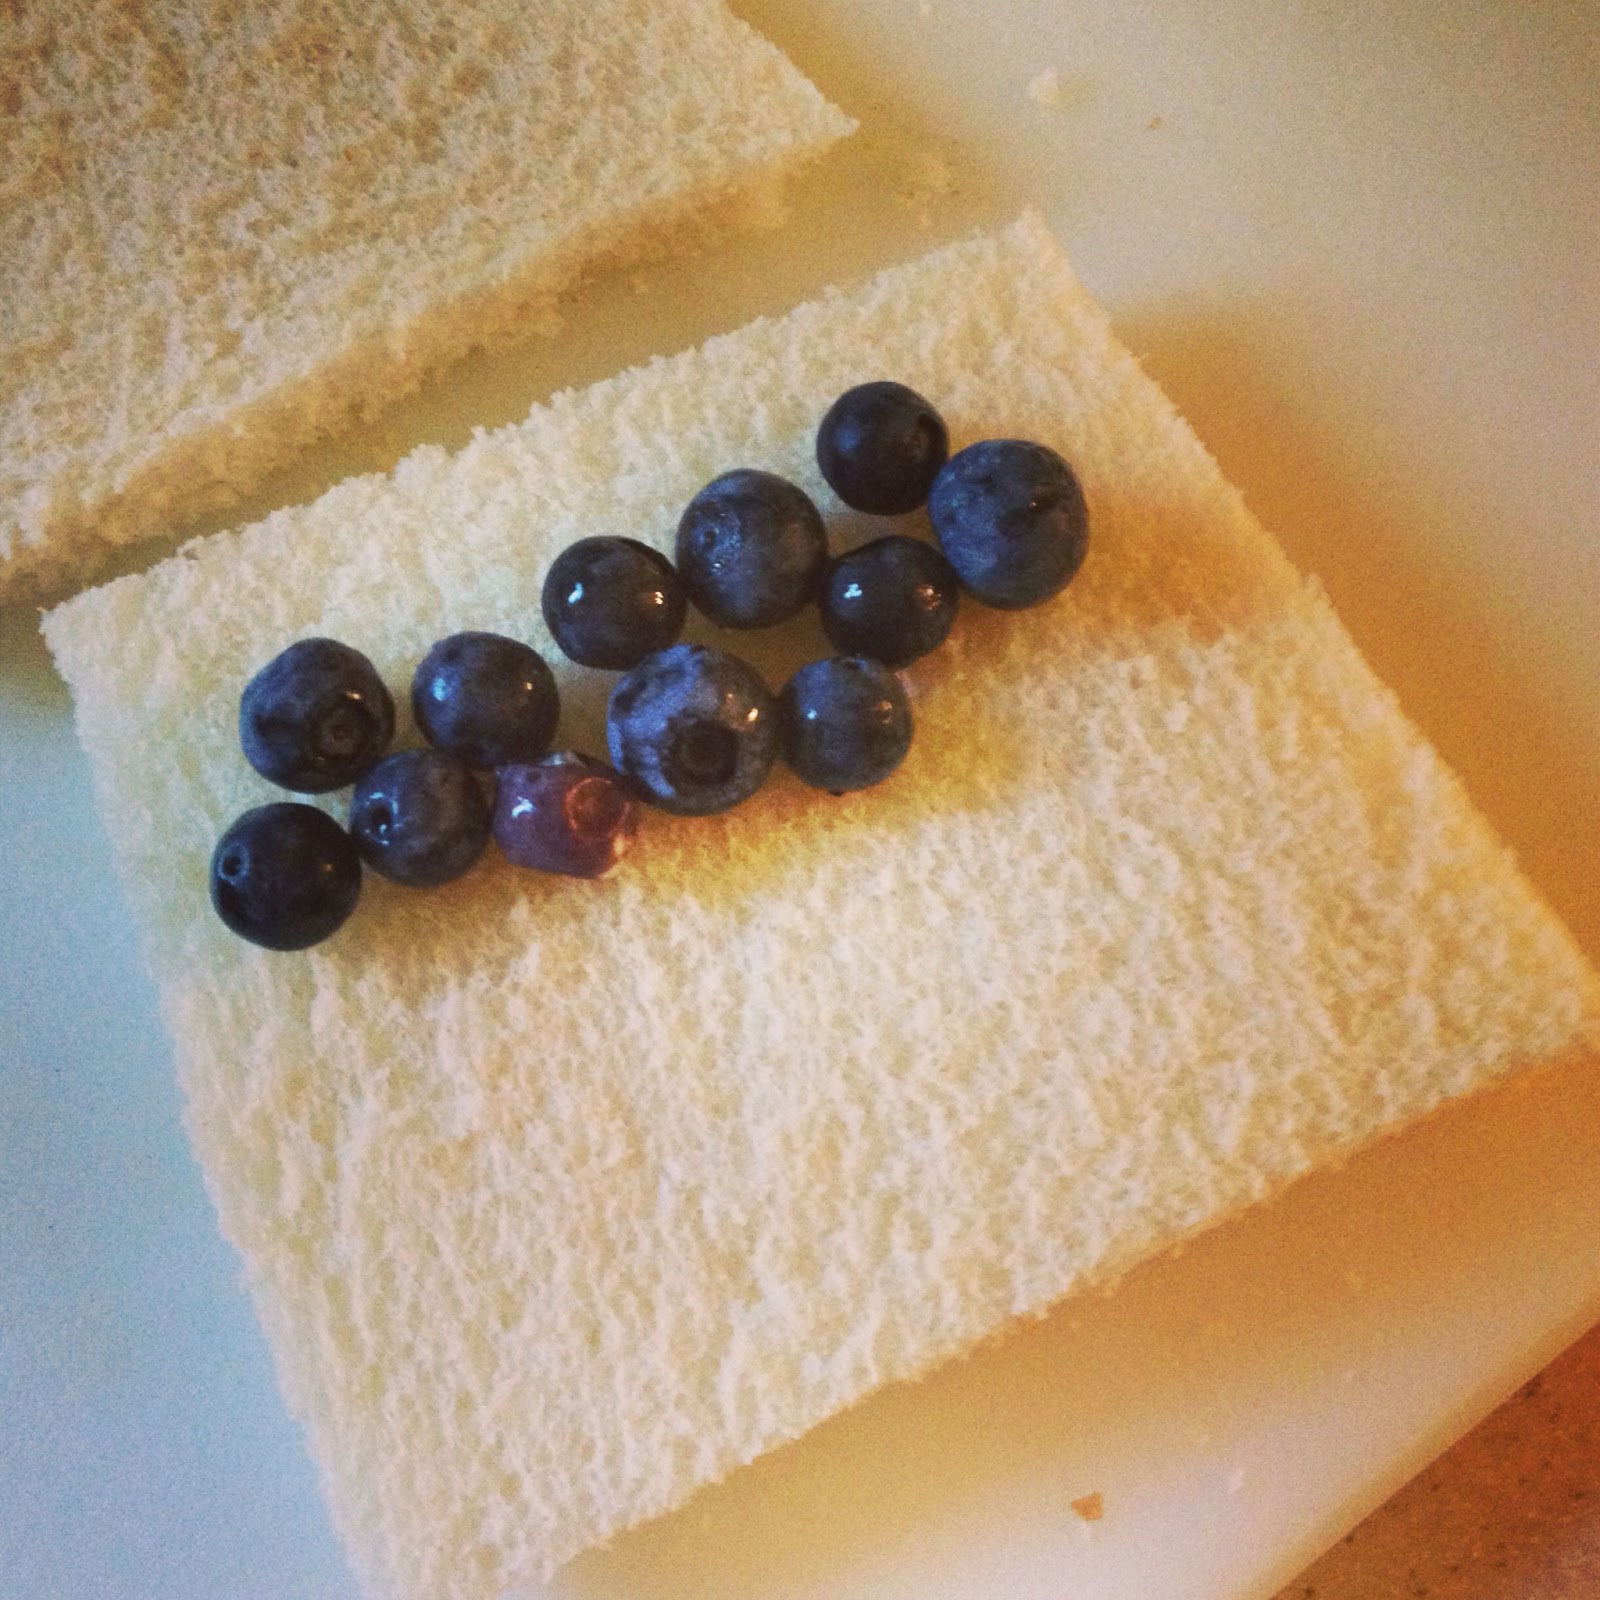
After slicing the crust off some Wonder white bread (my favorite cheap bread), I filled some for Kirsten with mixed berries . . .


some for Julia with blueberries . . .


and THE BEST of all . . . some with cream cheese and raspberries! 

A quick egg bath and a romp in a buttered skillet . . .


A roll around in a sugar and cinnamon mixture and . . . HEAVEN!


If you LOVE french toast like I do, you might also like the Pound Cake French Toast I made for Mother's Day!


Sunday, April 28, 2013

Easter Would Not be the Same Without Cadbury Eggs

This year Easter and my sister, Madelyn's birthday collided, which was the perfect opportunity for some crazy baking!  You see, Madelyn is a huge fan of cupcakes... and one thing I do well is cupcakes! (It also helps that she loves Funfetti cupcakes right from the box).

Each year for her birthday, I set out on a quest for the perfect cupcake for the birthday girl.  Over the years we have experimented with cotton candy and red velvet... but this year while on my search for the newest concoction, I came across this recipe and HAD to try it.  I mean cadbury eggs inside a cupcake... are you kidding me!

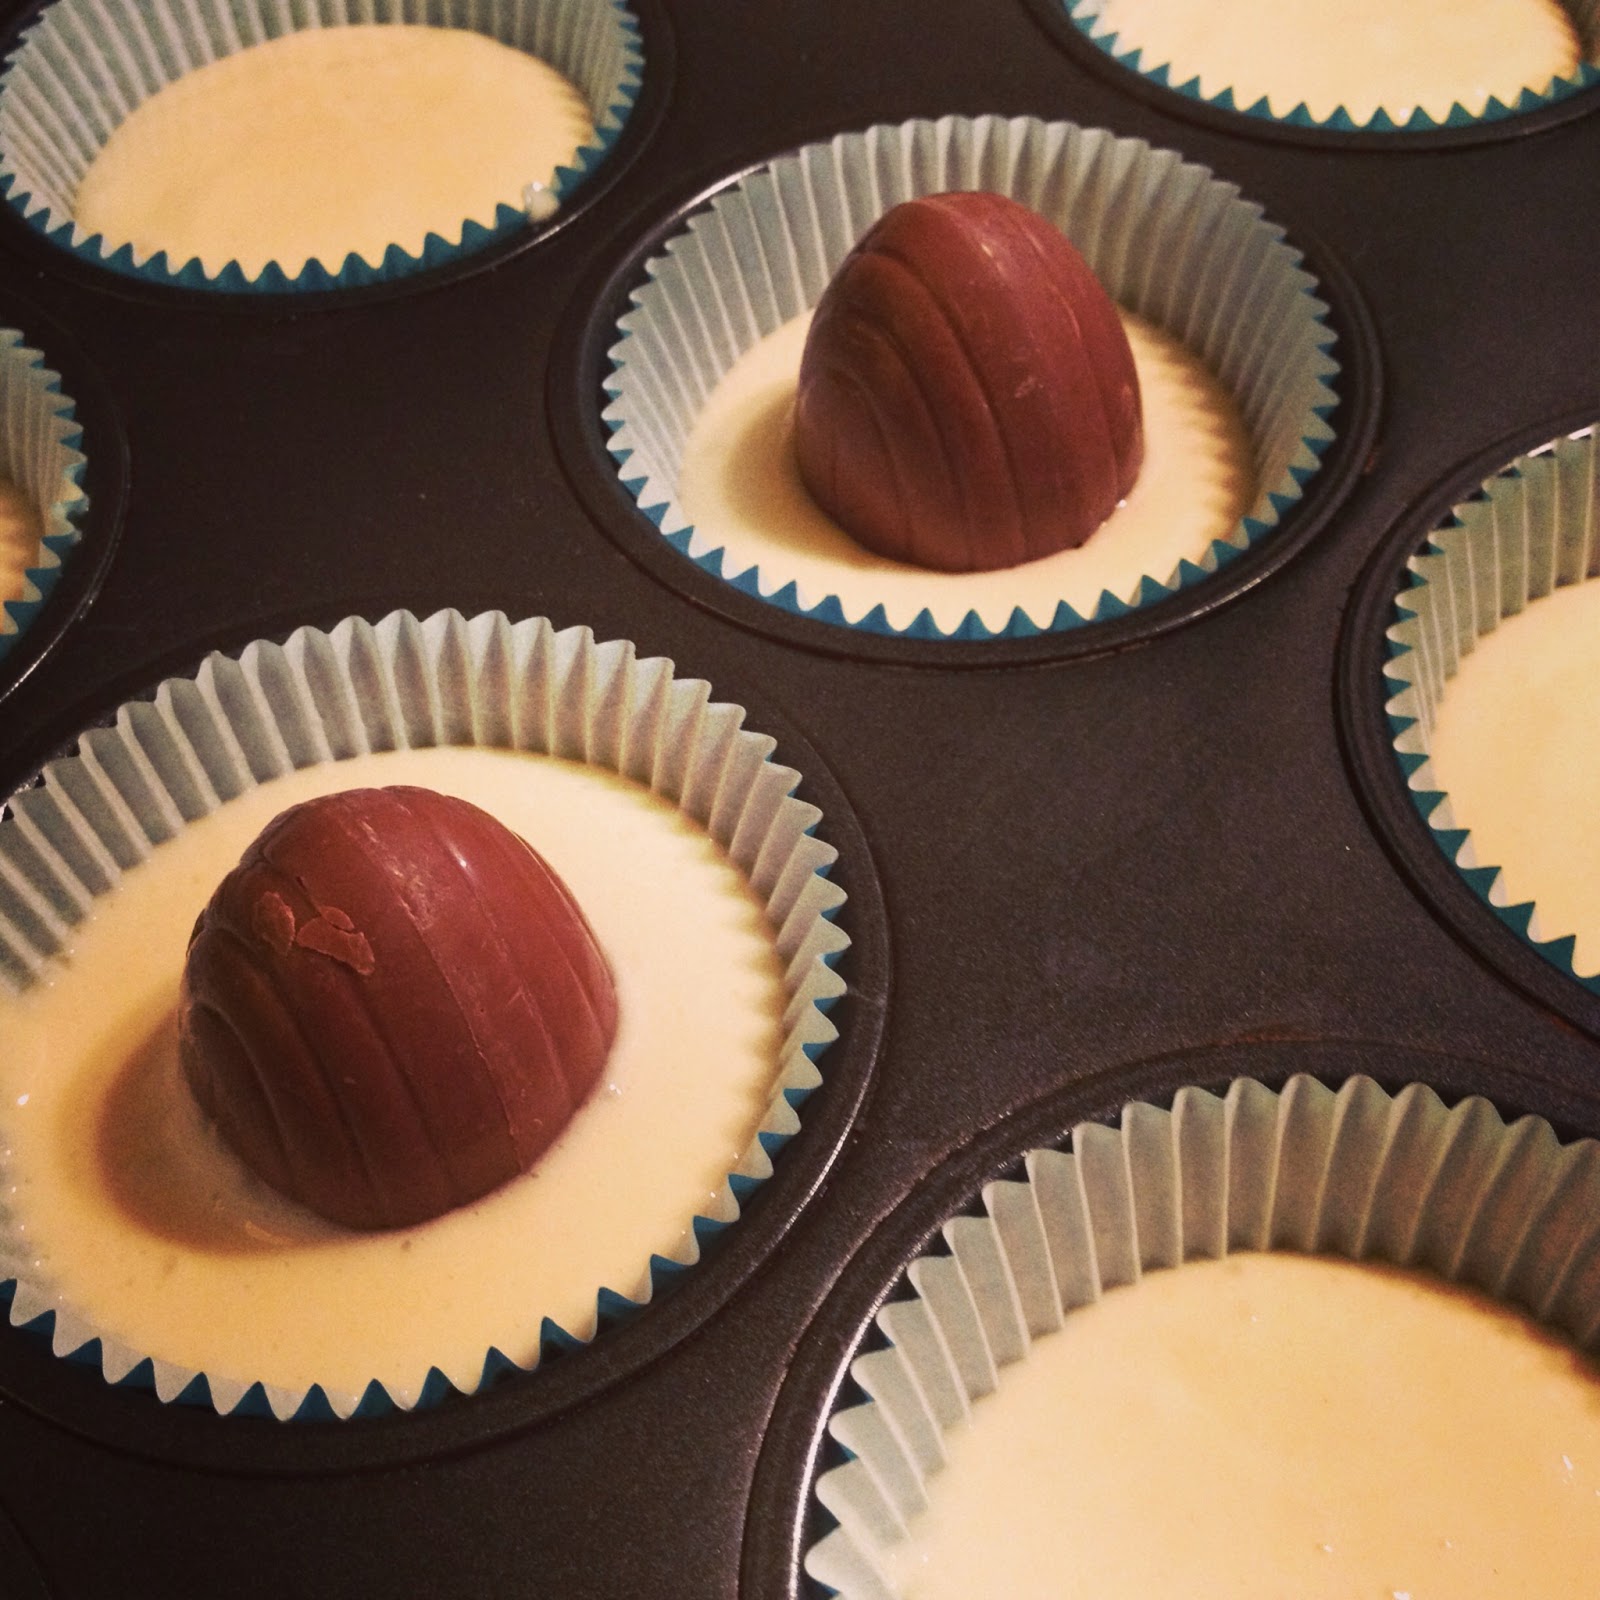
So although this seemed like to perfect recipe, I did have to revise, given that the birthday is partial to vanilla cupcakes.  Then just open some Cadbury eggs, insert in some cake batter, top off with a bit more batter and bake!


Thursday, April 4, 2013

An All Rainbows & Unicorns Birthday Bash


Kirsten would have had a fabulous time in the 80’s… it’s too as she was born 20 years too late. Since rainbows and unicorns are two of her faves, we combined them into one fabulous party theme!

We set the stage for this extravaganza with a drawing of a rainbow unicorn created by the artistic birthday girl!  


A quick scan, a download of some fabulous new fonts, some playing around in Adobe Photoshop… and Kirsten’s magical invitation!


We printed the same unicorn on cardstock and cut it out, along with a white super puffy cloud and number 5. They were then mounted on slightly larger cutouts in bright colors with foam mounting squares to give it a three-dimensional effect.  Insert some skewers (no time for cutting dowels); place in a glass jar of brightly colored bubblegum and a simple, but fantastic centerpiece!


Two rounds of cupcakes were needed for the double birthday celebration (round #1: a party with her friends and round #2: family fun).  Our go-to Funfetti cupcakes baked in shiny silver cupcakes liners topped with my favorite butter cream frosting, of course tinted in the shades of the rainbow, debuted at the first party.


Since the second party involved adults and not just five year olds who like the frosting and throw out the cupcake, I invested a bit more time in our cupcake creations.  I really wanted to make the infamous Martha Stewart rainbow cake, but I knew I did not have nearly enough time. (I did end up making it this year for Kirsten’s 6th and it was so well worth the effort.)  Tie-dye cupcakes baked in those same shiny silver cupcake liners were the choice for this party with white butter cream frosting and some rainbow nonpareils to fancy them up.


Add one fabulous five year old in a super bright rainbow pillowcase dress from mama runs with scissors and you have your self one fabulous rainbow unicorn birthday party!


And if this wasn't enough... check out the unicorn cupcakes we whipped up for her birthday celebration at school!

Saturday, March 30, 2013

April Fools' Day is Almost Here


I have been a teacher now for almost 15 years and every teacher has a love for Dr. Seuss. And long before I was a teacher, I was a child.  And much like every other child in the world, I had a love for Dr. Seuss.  So last year when Kirsten came home asking for Dr. Seuss books to bring to school for Dr. Seuss week, we were so excited to rummage through the thousands of books in our house for all of the Seuss classics.

The Foot Book… Mr. Brown Can Moo! Can You?...  There’s a Wocket in My Pocket… The Lorax…  Yertle the Turtle….

As the pile reached higher and higher, we looked upon it in awe at how vast our collection had grown.

But what does April Fool’s Day have to do with Dr. Suess… Well I would have answered, “absolutely nothing,” until Dr. Seuss week in Mrs. Dennino’s kindergarten class.  That was the week we were introduced to a new family favorite, Wacky Wednesday.


Wacky Wednesday begins when the main character wakes up to find a shoe on the wall! As the pages of the book progress the number of items gone awry increases.  The best part of the book is the illustrations, which double as picture puzzles needing to be solved.  

What better way to celebrate April Fools' Day than with our very own Wacky Wednesday.  And even though April 1, 2012 was not on a Wednesday (it was a Sunday)… what better way to celebrate than with our own Wacky Sunday, complete with a shoe on the wall!

After composing this letter,


I set out to plant the five things that were wrong.

#1
a personalized placemat with Kirsten’s name spelled wrong 

#2
a personalized placemat which Julia needed to read in the mirror 

#3
the artwork on our corkboard turned upside down 

#4
pink milk (by far their favorite)

#5
our very own shoe on the wall! 

We will wait and see what Wacky Monday will bring this year...

Monday, March 25, 2013

The March Bake Off

It seems like March is the busiest month of the year.  St. Patrick's Day... the Covert Circus... Parent Teacher Conferences... My sister's birthday... My daddy's birthday... Add Easter to this list and you have one fun filled month... and LOTS of baking!  And thanks to Pinterest, it is also time for experimenting!

Last weekend was bundt cake fest! This week was cupcake fest!

The baking began for Julia's Spring Party on Friday this week. For this celebration, I took my own advice, and kept it simple... a box of Funfetti cake mix, a container of frosting, and colorful Peep chicks  to nest on top...
It really doesn't get any cuter than this!

Peeps Marshmallow Chick Cupcakes


Round #2 of baking commenced on Friday night for my sister's and daddy's birthday celebration. Keeping with our Easter theme and the fact that Madelyn is a HUGE fan of both Cadbury Creme Eggs and Cadbury Mini Eggs... we concocted two cadbury creations (say that three times fast).

Cadbury Creme Egg Cupcakes


Another super easy treat when you make it with one box vanilla cake mix and Cadbury creme eggs.


One word of advice... only fill the cupcake liners about a third of the way.  Insert egg and then add only a teaspoon or so more batter.  Otherwise, you end up with a big mess.


These cupcakes are SUPER SWEET... frosting really is overkill.

Cadbury Mini Egg Cupcakes

I must admit, I had no idea how these treats would turn out.  So instead of ruining al1 2 dozen cupcakes, I went out on a limb with only 8. With the remaining 16 plain old vanilla cupcakes I added some green frosting grass and some cut Cadbury mini eggs.


Thinking back now, some crushed mini eggs in the batter (like mini chocolate chips) might have made these even more yummy!

I also made another batch of my new obsession, mint cookie truffles... the third batch in only eight days!


So let's recap our March sweetness. To date we have made...


(28) vanilla Peep cupcakes

(8) Cadbury egg cupcakes

(16) vanilla cupcakes with mini Cadbury eggs

And the month is not over yet... Easter goodies are yet to come!